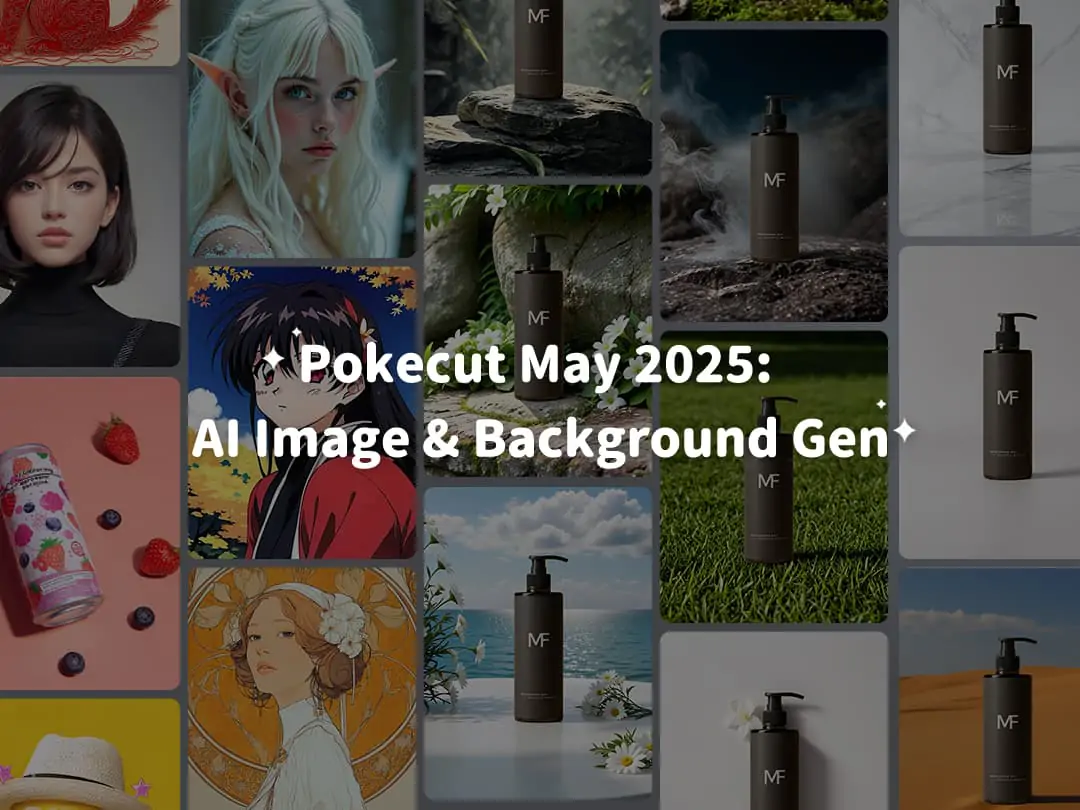


Home > Blog > How to Remove Lens Flare in Photoshop? A Step-by-Step Guide
How to Remove Lens Flare in Photoshop? A Step-by-Step Guide

Contents
Why Does Lens Flare Occur
Why You Need to Remove Lens Flare
How to Reduce Lens Flare While Shooting
How to Remove Lens Flare in Photoshop
Best AI Magic Eraser to Remove Lens Flare
Conclusion
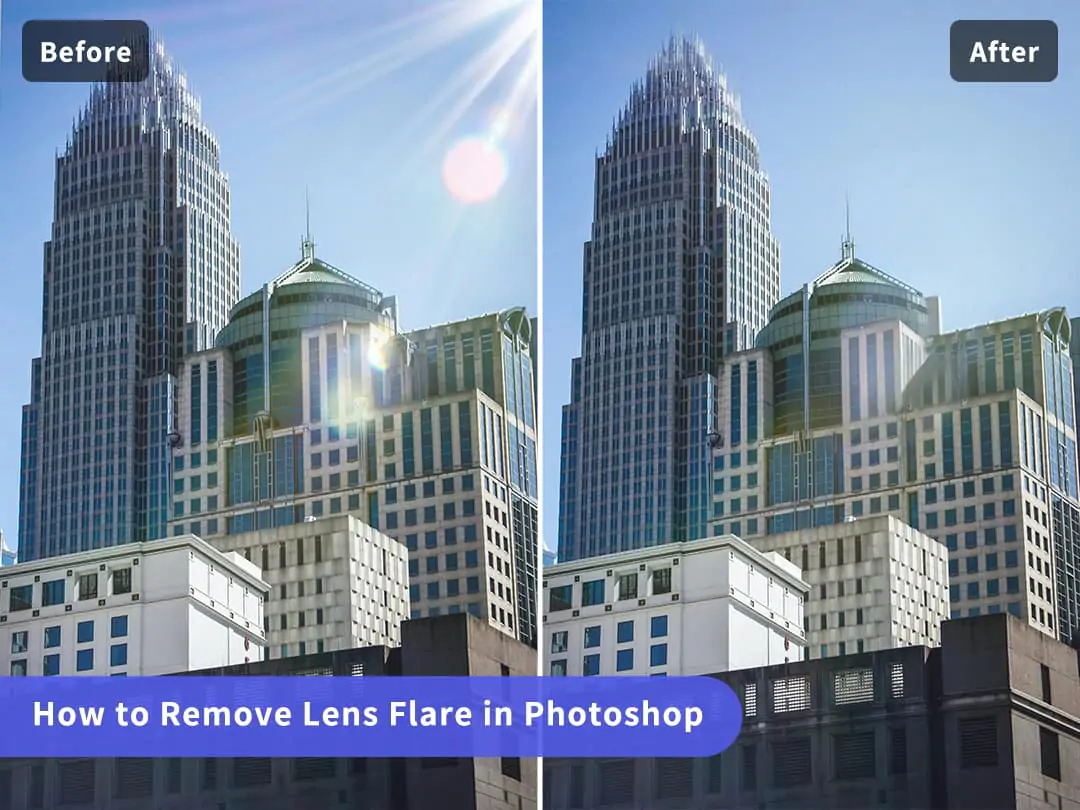
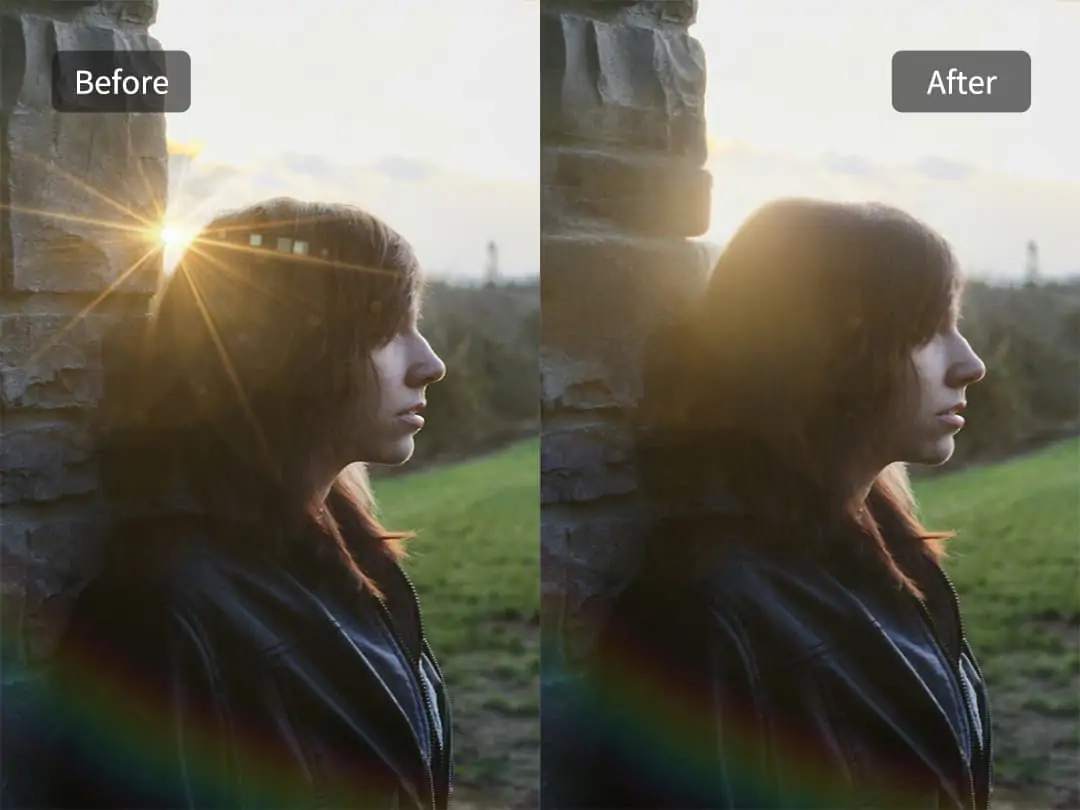
Lens flare can ruin an otherwise perfect photo by causing bright spots, haze, or unwanted reflections, distracting from your subject and reducing image contrast. Whether you want to enhance your images or correct imperfections, learning how to remove lens flare in Photoshop is essential. This effect occurs when light reflects within the lens, producing bright circles or streaks that may detract from your photo’s quality. By mastering techniques such as using the healing brush, clone stamp, or content-aware fill, you can effectively eliminate lens flare and restore the natural look of your pictures. For a quick and easy solution, you can also try remove glare from photos, which requires no installation or registration.
Why Does Lens Flare Occur
Lens flare appears when light reflects inside your camera lens, creating artifacts or bright circles. It can distract from your subject or reduce image contrast. While some creative photos embrace lens flare artistically, often it is an unwanted effect that needs correction. Removing lens flare photoshop-style requires a combination of understanding the issue and using the right tools. This article covers both traditional software workflows and new AI-powered solutions.
Lens flare is a common occurrence in photography that can add an artistic touch when used intentionally, but it often results in unwanted artifacts. Understanding its causes helps photographers prevent flare during shooting and address it in post-processing.
Bright Light Sources: Shooting directly into intense light sources like the sun or street lamps is a primary cause of lens flare. Such sources can create reflections and scattering within the lens, especially when positioned at an angle affecting the camera sensor.
Lens Elements and Internal Reflections: Modern lenses have multiple glass elements designed to focus light accurately. However, these elements can also cause internal reflections, leading to flare, particularly in complex lens designs.
Lens Quality and Coatings: The quality of a lens and its coatings significantly impact flare control. High-quality lenses typically have coatings that minimize reflections and glare, reducing flare intensity and improving image contrast. Lenses lacking adequate coatings are more susceptible to flare.
Dirty or Scratched Lenses: Dust, fingerprints, and scratches can exacerbate lens flare by scattering incoming light. Keeping the lens clean is crucial for minimizing these effects.
Wide Apertures and Angles: Using wide apertures increases the likelihood of flare as more light enters the lens. Specific shooting angles can also make lenses more prone to flare, especially if the light source is just outside the frame.
By understanding these factors, photographers can take preventive measures during shooting and apply corrective techniques in post-processing to manage lens flare effectively.
Why You Need to Remove Lens Flare
Removing lens flare is crucial for producing high-quality images. While some photographers use lens flare for artistic effect, it often detracts from photo quality and clarity. Here’s why eliminating lens flare should be prioritized:
Restores Natural Colors and Contrast: Lens flare can introduce unwanted light streaks or haze that wash out colors and reduce contrast. Removing these effects restores the natural vibrancy and depth of your photos, ensuring that colors are true to life and contrasts are sharp.
Eliminates Distractions: Bright spots or light streaks from lens flare can divert attention away from the main subject. These distractions disrupt the composition and focus, reducing the image's effectiveness in conveying its intended message. By eliminating flare, you keep the viewer’s attention on the subject, enhancing the overall impact.
Enhances Image Quality: For professional photographers, maintaining high image quality is essential. Lens flare can make photos look amateurish or unfinished, which is undesirable for portfolios or publications. Removing lens flare sharpens and clarifies the image, making it suitable for professional use.
Highlights Subject Details: Lens flare can obscure important details, particularly in areas with intricate textures or subtle tonal variations. By removing flare, you allow these details to shine through, adding depth and dimension—especially important in portrait photography.

Mastering how to remove lens flare in Photoshop or Lightroom, is a valuable skill for any photographer. It enhances the aesthetic quality of images and ensures they meet professional standards, making it a worthy investment of time and effort. Besides removing flare, you might also want to enhance your photo quality overall using Pokecut’s Photo Enhancer tool.
How to Reduce Lens Flare While Shooting
Reducing lens flare during shooting is often the most effective strategy for ensuring high-quality images. Here are some tips to help you minimize lens flare:
Adjust Your Shooting Angle: Changing your position relative to the light source can significantly reduce flare. Try to position yourself so that the light source is not directly entering the lens. Experiment with different angles to find the one that minimizes unwanted reflections without compromising your composition.
Use a Lens Hood: A lens hood is designed to block stray light from entering the lens without affecting the desired light for your shot. By using a lens hood, you can prevent light from hitting the outer elements of the lens, which is a common cause of flare.
Clean Your Lens Thoroughly: Ensure that your lens is free of dust, fingerprints, and smudges before shooting. These can scatter light and increase the likelihood of lens flare. Regular cleaning with a microfiber cloth can help maintain optimal lens clarity.
Use Polarizing or ND Filters: These filters can help manage reflections and reduce glare. A polarizing filter, in particular, can cut down reflections from non-metallic surfaces, while a neutral density (ND) filter can reduce the intensity of light entering the lens, helping to control exposure and flare.
Shoot During Times with Softer Light: The golden hour, which occurs shortly after sunrise and before sunset, offers softer, more diffused light that is less likely to cause harsh lens flare. Shooting during these times can naturally reduce the risk of flare while providing beautiful natural lighting for your photos.

Despite taking these precautions, lens flare can still occur, especially in challenging lighting conditions. In such cases, post-processing tools like Photoshop or AI-driven solutions such as Pokecut’s Magic Eraser can effectively remove or reduce flare to enhance the final image.You can also remove shadows that often accompany glare with Pokecut’s free Shadow Removal tool.
How to Remove Lens Flare in Photoshop
Using Photoshop to remove lens flare can significantly enhance the clarity and professionalism of your photos. Follow these detailed steps to effectively eliminate lens flare:
- Duplicate the Layer: Always begin by duplicating your original image layer. This practice ensures that all edits are non-destructive, allowing you to preserve the original photo. To do this, right-click on the layer in the Layers panel and select “Duplicate Layer.” This gives you a backup in case you need to start over or compare with the original.
- Use the Spot Healing Brush Tool: The Spot Healing Brush Tool is ideal for quickly removing small flarespots. Select this tool from the toolbar, and gently paint over the flare areas. Photoshop intelligently samples the surrounding pixels to blend them naturally, making the flare less noticeable.
- Utilize the Clone Stamp Tool: For larger or more complex flare areas, the Clone Stamp Tool provides greater control. Hold the Alt key (Option key on Mac) to sample a clean area of the image, then paint over the flare. Adjust the brush hardness and opacity for a seamless blend.
- Adjust Curves and Levels: Lens flare can affect the overall brightness and contrast of your photo. Use Curves or Levels adjustments to correct any exposure issues, ensuring the repaired areas match the rest of the image in tone and color.
- Refine the Edges: Finally, zoom into the image to refine the transition areas. Use the Blur Tool to soften any harsh edges, ensuring a smooth and natural integration of the edited areas with the surrounding image.
By following these comprehensive steps, you can effectively remove lens flare, restoring your photos to their intended quality and impact.
Best AI Magic Eraser to Remove Lens Flare
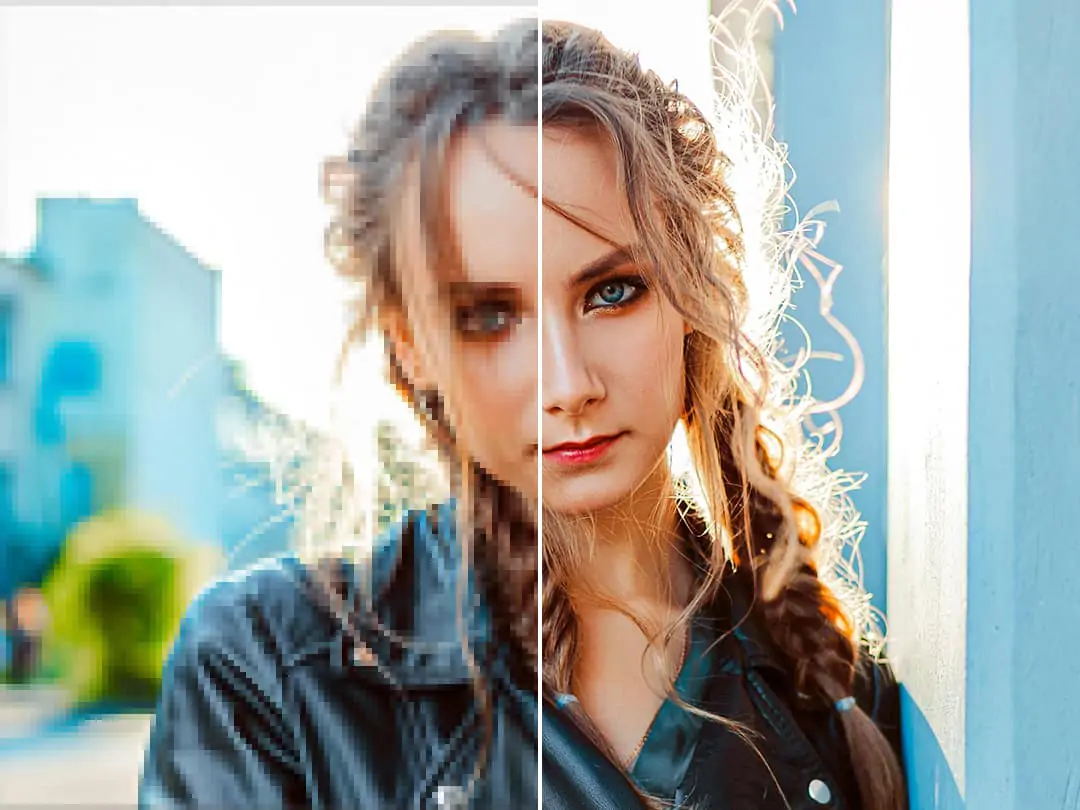
Pokecut’s Magic Eraser offers a quick, free AI-powered online solution for removing lens flare and other unwanted elements from photos, revolutionizing the editing process:
- No Sign-Up Required: Access the tool instantly online without the need for registration or installation.
- AI-Powered Smart Selection: Simply brush over lens flare or unwanted objects, and the AI intelligently removes them, seamlessly filling in backgrounds.
- Versatile Use: Besides lens flare, the tool effectively removes people, objects, blemishes, and other distractions.
- User-Friendly Interface: Designed for all skill levels, making it accessible for both beginners and professionals.
- Fast Processing: Save time with rapid editing compared to traditional manual methods.
How to Use Pokecut Magic Eraser:
Visit Pokecut’s website and open the Magic Eraser tool.
Upload your photo with lens or light flare.

Use the brush tool to highlight the flare spots.
Click “Remove” and let the AI handle the rest.

Instantly download your clean, flare-free photo.

Pokecut’s Magic Eraser complements Photoshop by providing a hassle-free way to remove lens and light flare without requiring technical skills. It offers a convenient alternative for quick fixes, ensuring your images are clear and professionally polished with minimal effort. Whether you’re looking to enhance your photos for personal enjoyment or professional presentation, Pokecut’s AI tool is an invaluable resource for achieving flawless results efficiently.
Conclusion
Removing lens flare is crucial for producing high-quality photos. While Photoshop remove lens flare techniques offer precision and control, they come with a learning curve and time cost. Meanwhile, Pokecut’s free AI online tool provides a quick, easy, and effective alternative, perfect for anyone wanting to fix photos fast without complicated software.
We recommend learning the Photoshop workflow for detailed editing and keeping Pokecut Magic Eraser handy for instant fixes. Try both methods and choose what fits your needs best!
Start enhancing your photos today by mastering how to remove lens flare in Photoshop and leveraging AI-powered tools like Pokecut for flawless, professional images.For more tips on photo editing, check out our blogs on how to remove glare from glasses and how to remove glare from photos.


Copyright © 2025 Pokecut All Rights Reserved.